WEEK 5 - The human being...
At some stage between the last lesson and this, I hope you have been on location to draw street scenes, etc. trying to come to grips with perspective etc., but people keep getting in the way!?
So we will now turn our attention to drawing people - perhaps the most daunting prospect for any artist...
I have spoken with various landscape artists that tell me they deliberately leave people out as the subject is more interesting without them...
But I tend to disagree saying that inclusion of the human form adds human interest, and it is more likely that people have been omitted as the artist just finds them too hard.
But art isn't about omitting something because we can't do it!
So how do we start? By observation of course!
 Many artists through history have done self-portraits of themselves as they can practice painting something that they see every time they look in a mirror.
(And when they get it wrong, they don't feel thy have to apologise to the model!)
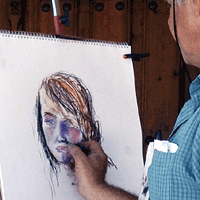
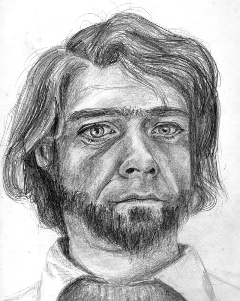
Here is an early one I did of myself over 30 years ago in my long-haired hippy era! (I have changed a bit since then...)
There are various rules of thumb of course, like the eyes are separated by the width of another eye and that they are always half way up the head.
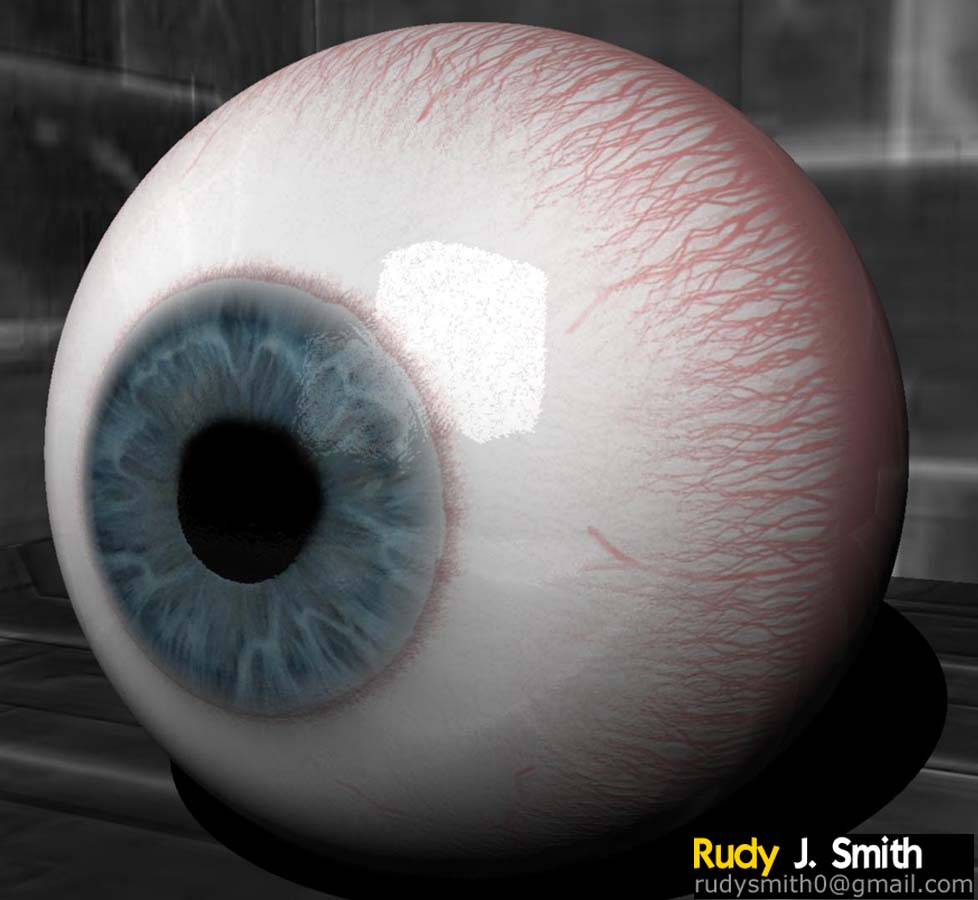
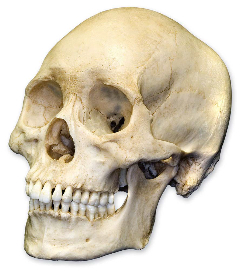
But if we look at an eye we also need to understand a little biology to realise it is in fact a sphere set into a socket and that the lids then wrap round it.
I guess we are all familiar with the shape of a skull & the two large sockets to house and protect the eyeballs.

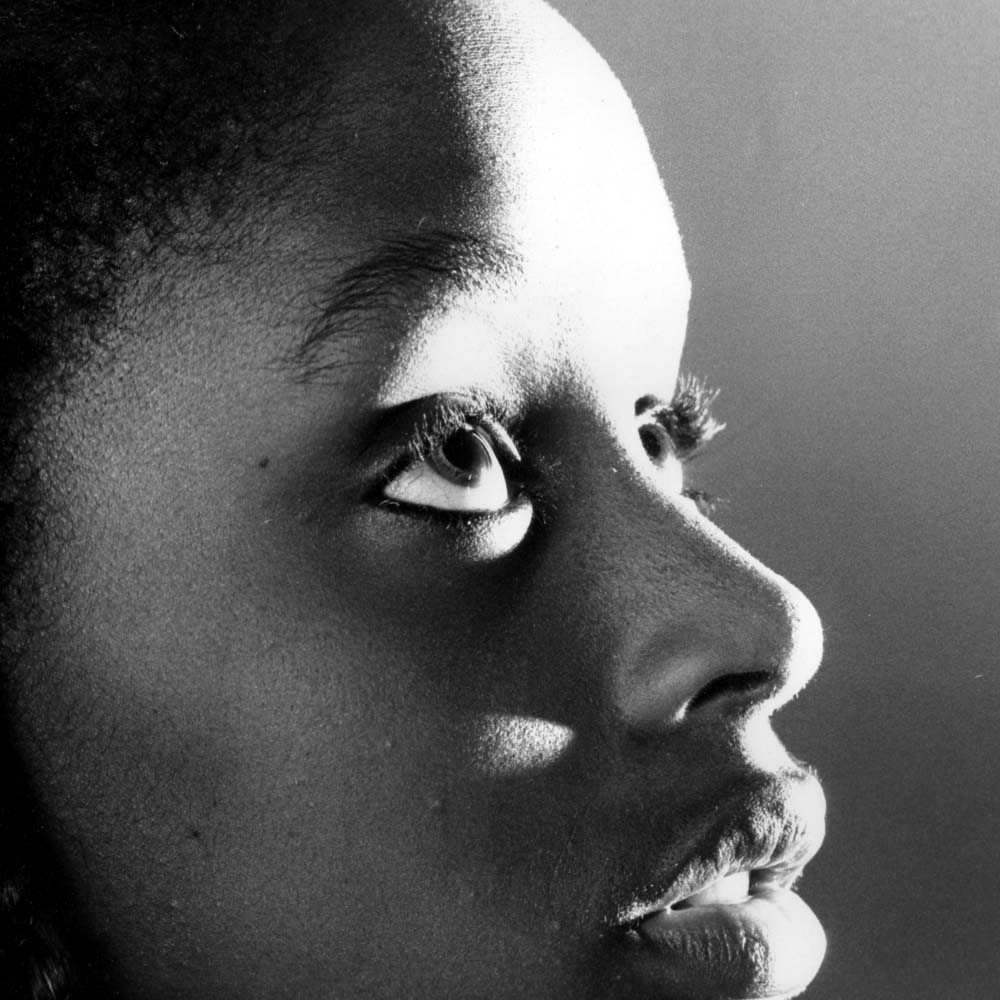
So when drawing an eye, remember it is a sphere and try to imagine the whole of it, shading it as a sphere and wrapping the eyelids around it - I think this portrait photo I shot of Estella clearly shows what I mean by this.

Of course we could spend weeks just studying the human eye, but there is so much more to a portrait.
So look at proportions, study the shapes, look for planes, shadows, the hidden skull shape, etc and draw faces in the same way as we will have tackled still lifes and location work.
HOMEWORK
I suggest practicing with self portraits unless you have a sympathetic friend/partner that is prepared to sit for you.
Next session - the last - we will look at life drawing and we will employ a professional life model to pose for us - unless any of the class wants to volunteer of course!
So we can begin to try to capture the beauty of the human form without the worry of offending anyone as the model will have seen a lot worse.
|
WEEK 6 - Life drawing - The nude
Where do you start when faced with a naked body!
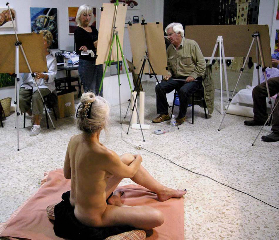
It is certainly not easy and the artist may feel embarrassed, but we will be employing a professional model who has done it before so the feeling goes quite quickly and she becomes just another object to draw.
I have read many different books saying 'this is the way to do it!', but there is no 'one way'.
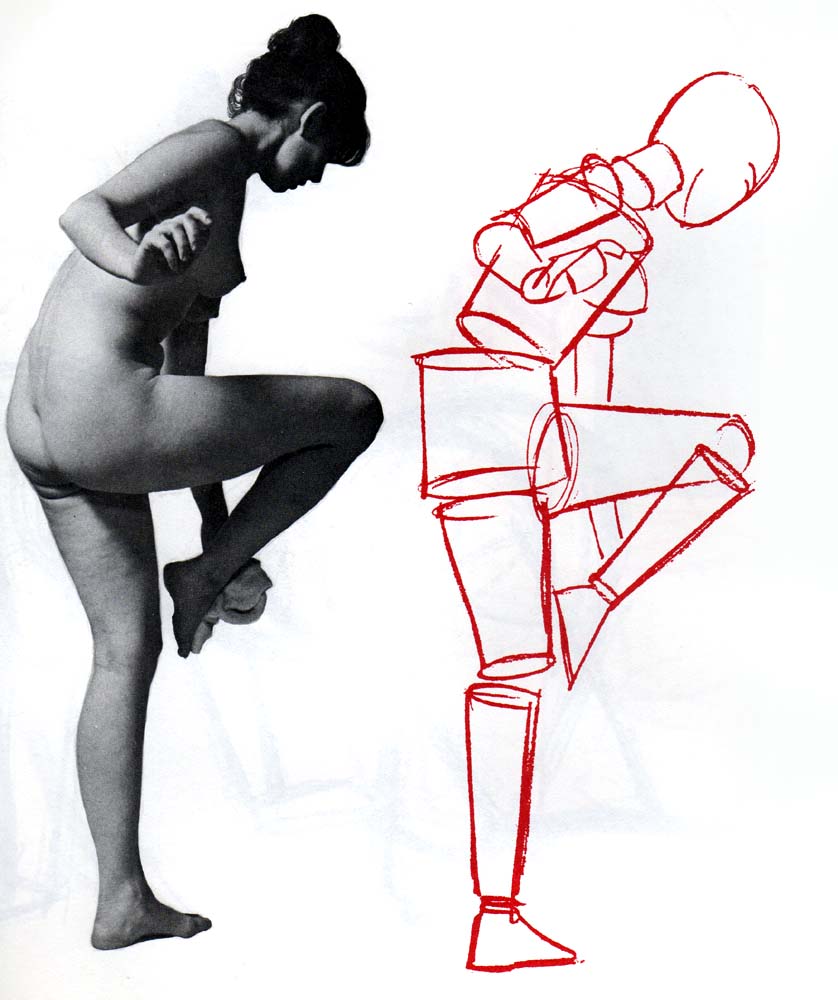
I have seen artists working out proportions and marking their paper to suit, I have seen others that consider the body to be made of a series of cubes and cylinders, I have seen another that plotted a series of points by measuring and then ending up joining the dots!

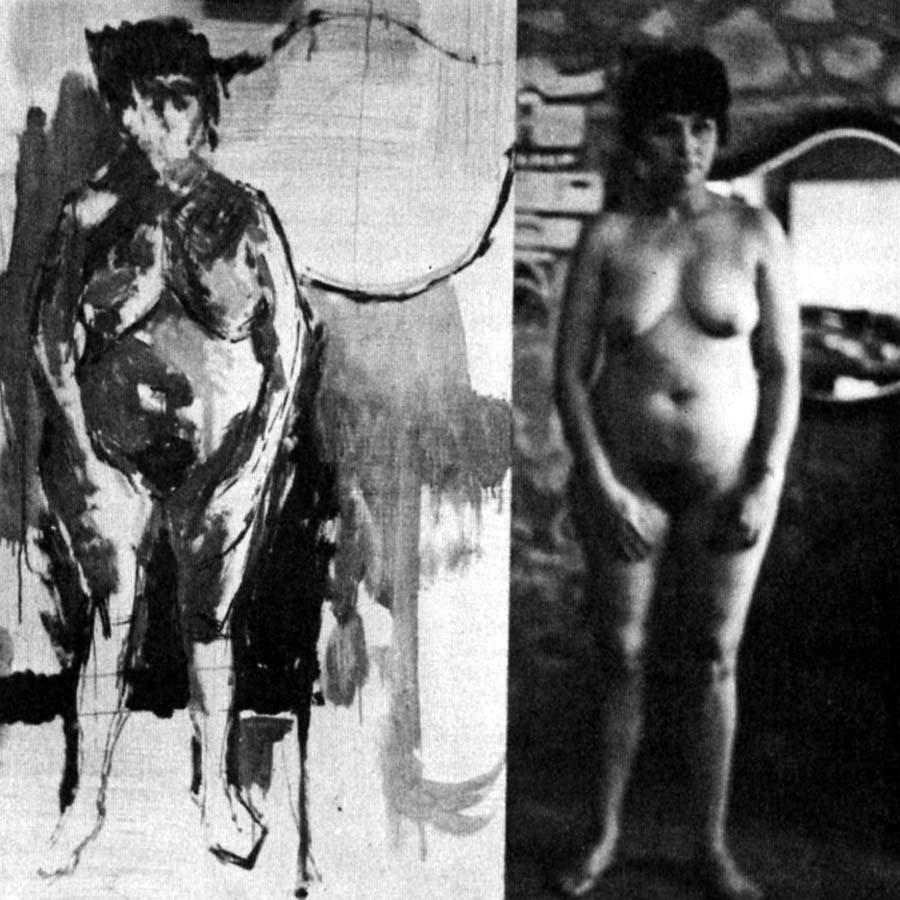
The answer is to use whatever works for you, but I suggest referring back to the very first lesson and looking for tone and shape.
Most new artists will tend to automatically start with the head, but we saw last week that there is a lot of work in a portrait & we've got a whole body to draw!
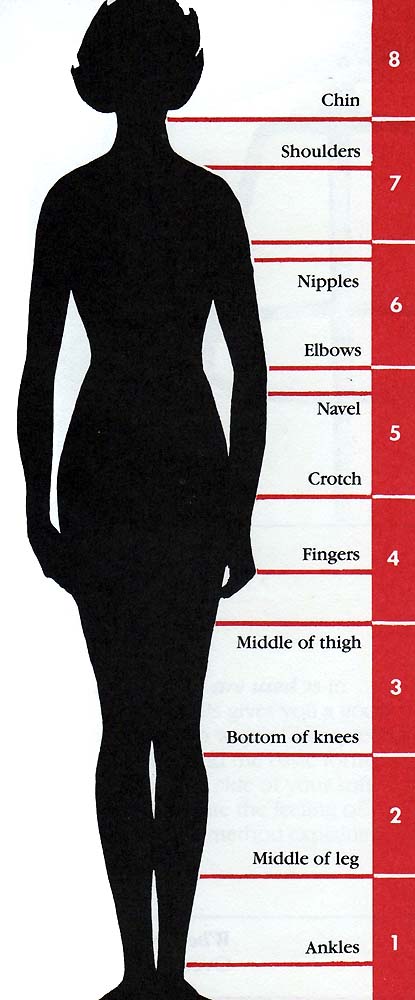
Of course it's best if you can draw 'size for size' - i.e. make the model appear the same size on your paper as you see him/her in life.

I first measure overall length & height - as in lesson 2 - to find where the centre will be and start from there on the paper and work outwards.
It may be part of the stomach with no immediate edge, so look for the shadows & start recording the shape.
See how the thigh then attaches at the hip and the hollows formed by the joint etc. and as you draw that leg feel its shape and the weight of it as it forms on your paper.
If you can 'feel' it as real, it will look real.
And keep referring back to where you started, measuring and cross-checking to make sure you keep the proportions right.
So our life drawing class brings us to the end of our short observational art course.
But really it is the beginning!
As you look and practice more and more, your art will improve.
And I make no apology of having finished with the nude.
As many other artists have found - and I certainly have - life drawing is best for developing observational skills and it's true that 'if you can do life drawing, you can draw anything!'.
I suggest you look around for a life drawing evening class or drop-in group near you - contact me if you have difficulties finding one - & practice.
There are many opportunities and no excuses for not observing and developing as artists.
Good luck and enjoy your art!
These notes form the basis of a 6 session course designed to help beginners learn to create for themselves from life, teaching basic drawing and painting skills using still life, locations, portraits and life drawing using pencil, charcoal, pastels & oil paints.
If you have found these notes helpful, please let me know. (email: martin@martin-enterprises.eu
|