WEEK 1 - Getting started
First we need materials, so paper and something to mark it with would be good.
Pencils come in various hardnesses and for art they should be soft.
I recommend at least a 2B, (but 8B is even better!)
Why? because they can create more variation of tone.
And charcoal is even better since it can smudge, blend and even be erased to create tone.
So what is tone and why is it important? - Because it is what gives an object shape.
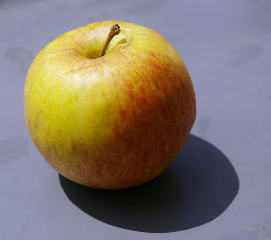
Look at this apple... How do we know it is rounded and not just flat? Because of the shadows - or tones.
Screw your eyes up and look at it and the shadows become darker.
So how we see things is all about tone... and not outline.
There is no line drawn round it, the only 'line' is the distinction between light and dark.

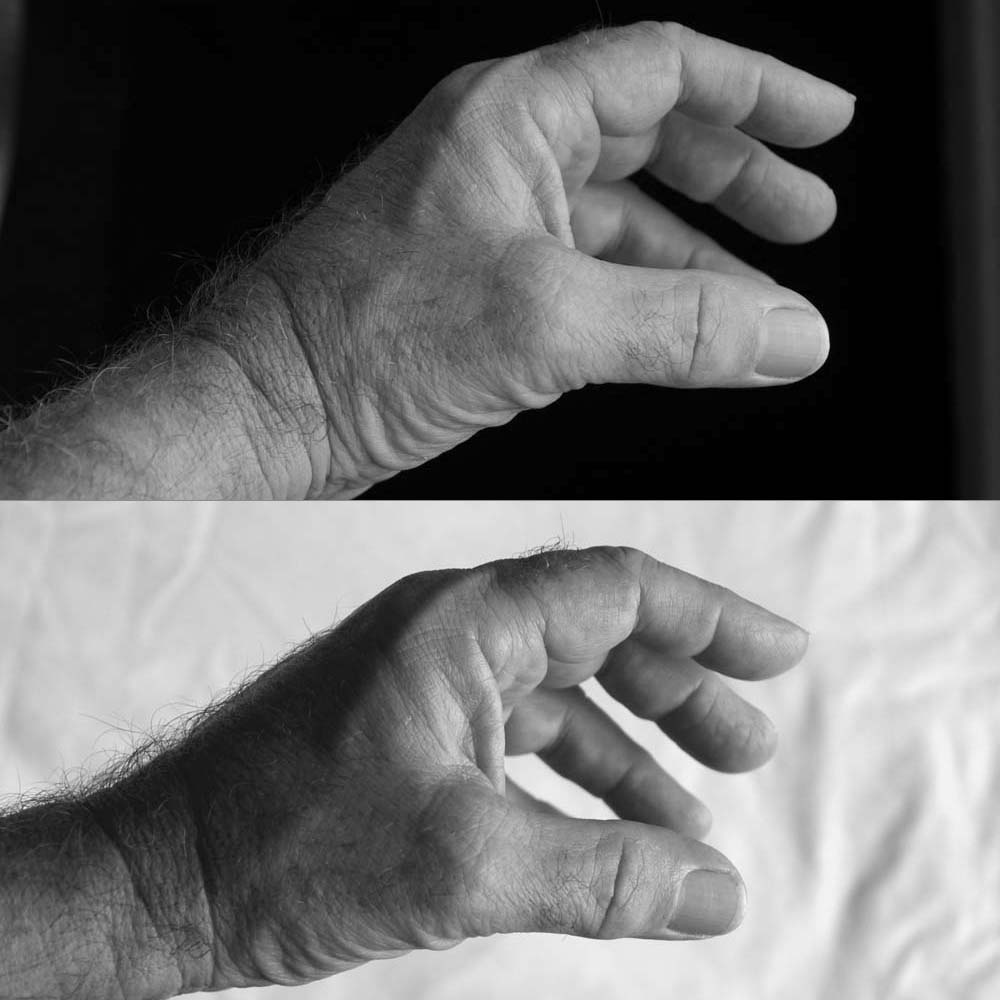
Try holding your hand in front of some dark fabric and then light fabric and watch how it looks dark against light and light against dark, yet the hand is still the same, and it's that difference in light we need to catch as artists if we want to represent the third dimension.
HOMEWORK
Practice drawing simple objects looking for the lights & darks.
Use black paper and chalk to draw in the lights rather than the shadows and get some grey paper and use a mixture of charcoal and chalk.
These notes form the basis of a 6 session course designed to help beginners learn to create for themselves from life, teaching basic drawing and painting skills using still life, locations, portraits and life drawing using pencil, charcoal, pastels & oil paints.
|
WEEK 2 - Sizing and measurement

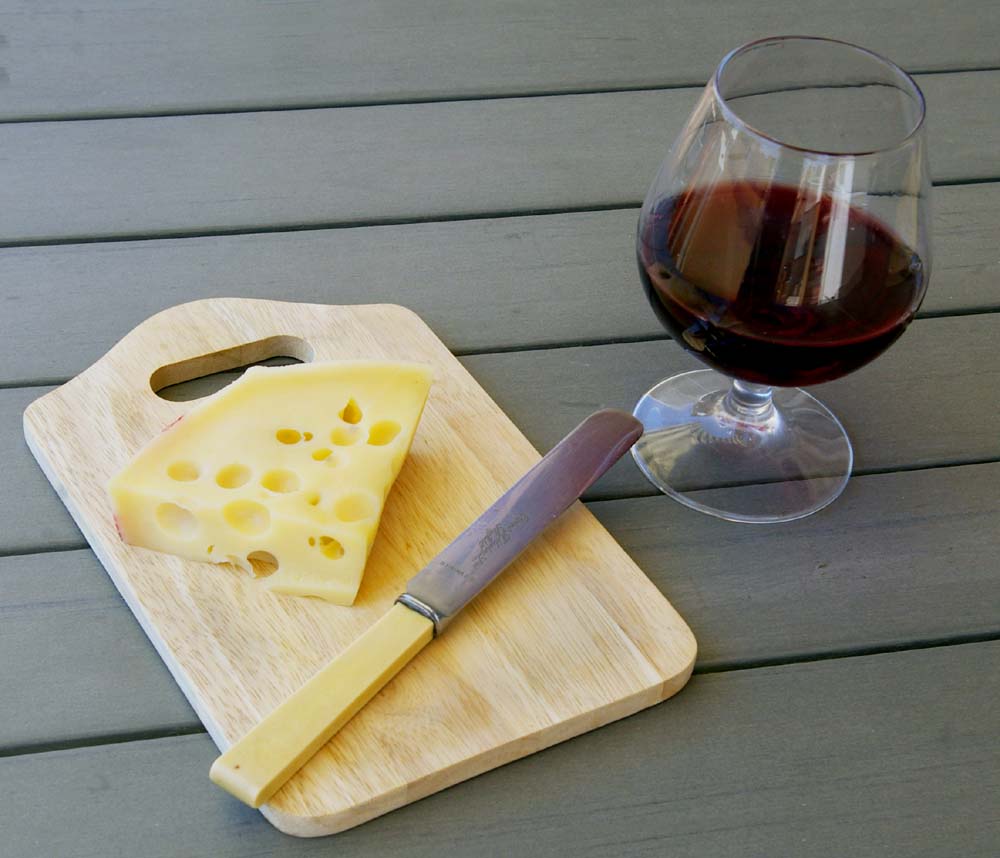
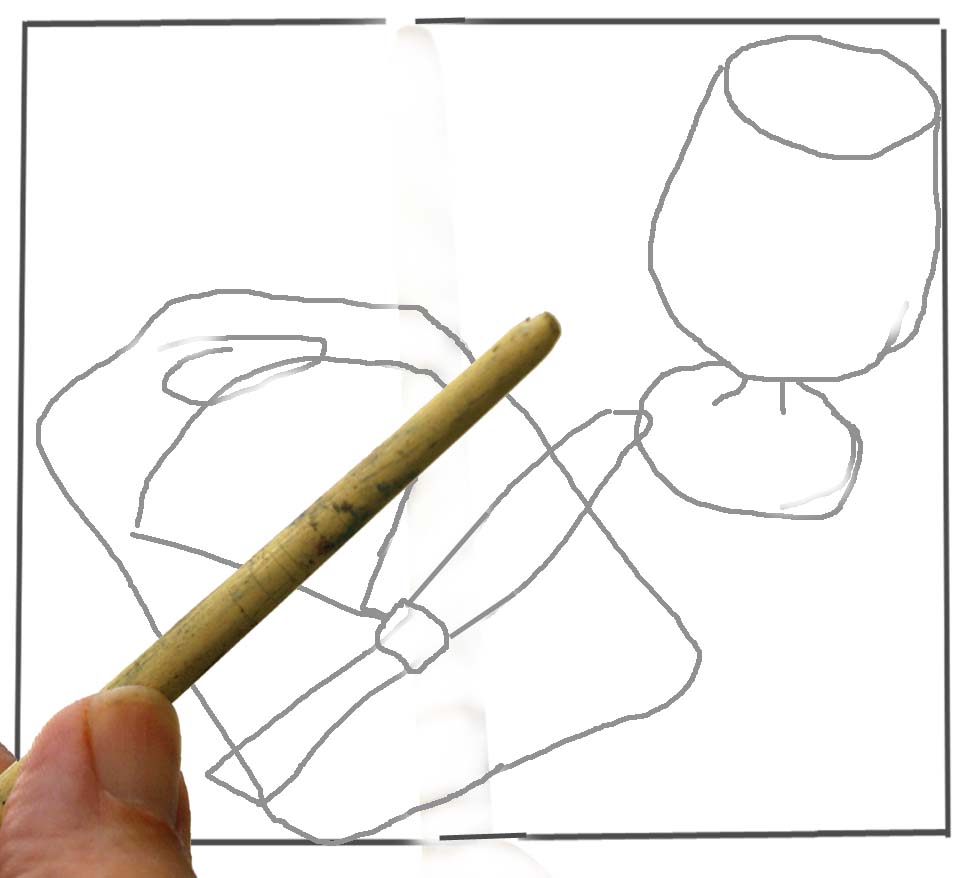
So how do we approach more complicated subjects, not just an apple but say this composition of wine and cheese?
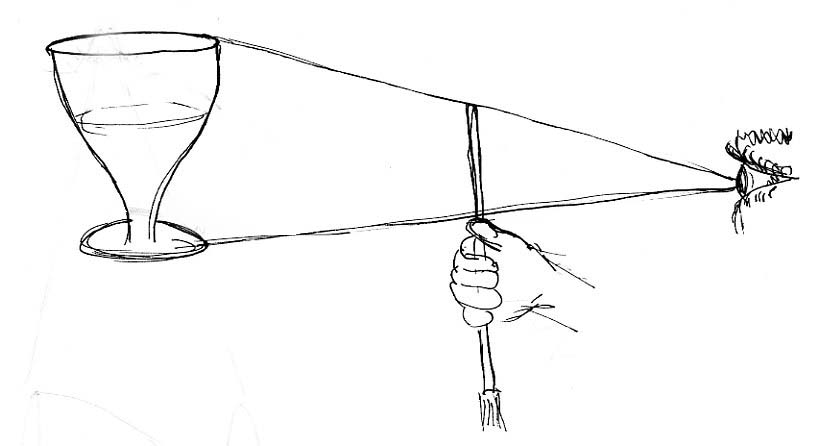
We first need to examine the proportions of the subject so we have to measure it up and work out where it will go on the paper using my 'ruler' which is a paintbrush...
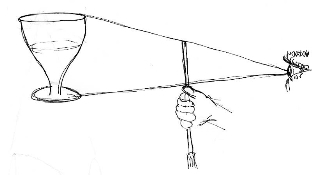
I hold my paintbrush vertical at arm's length, line up the tip at the 'top' of the object - in this case the wine glass - and then slide my thumb down till it reaches the 'bottom' of the object - in this case in line with the corner of the cutting board - & this gives me the height.
The same for the width, holding the brush horizontal to measure the width - from the bulge of the wine glass to a different corner of the board.
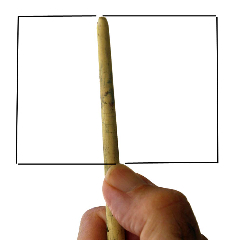
And I discover the picture will be wider than it is high, and if I transfer the sizes directly from my 'ruler' to the paper & draw 'size-for-size' its easiest!
Also you can draw the shape between the objects which are called 'negative spaces', but I'll touch on them more next time.
So having transferred my sizes, I can mark out the non-existant outlines of the objects to give me their sizes and positions.
(N.B. You don't have to be too accurate, this is your interpretation and not a photo, so its your first stage of creativity.)
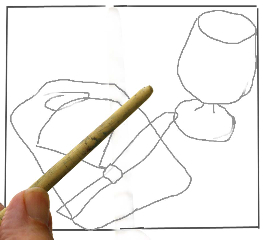 The 'ruler' comes in handy again in giving me the angle to draw the knife & board edges.
(This brings us onto perspective and foreshortening but more on these later too.)
So now it only needs to be drawn in using tone and texture of the subject.
HOMEWORK
Look at familair objects and try drawing them in relation to others, e.g. the sofa and table in your room and objects on it practicing measuring sizes and angles.
|