Alla Prima life art.
Using oils wet-on-wet in the life class.
It may be a bit daunting doing oil painting in the life class, but this is how I do it.

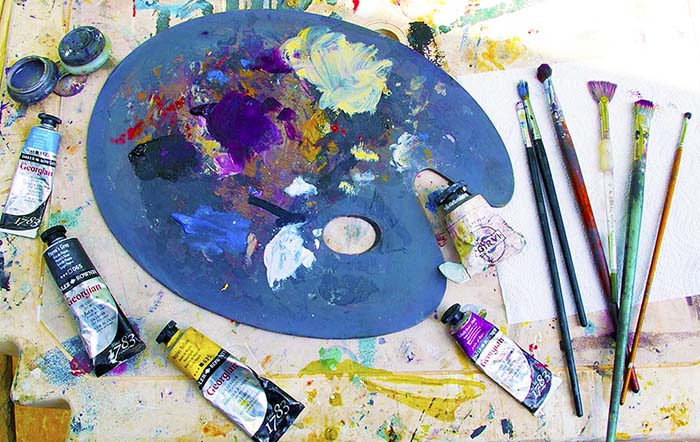
First I get my materials together:-
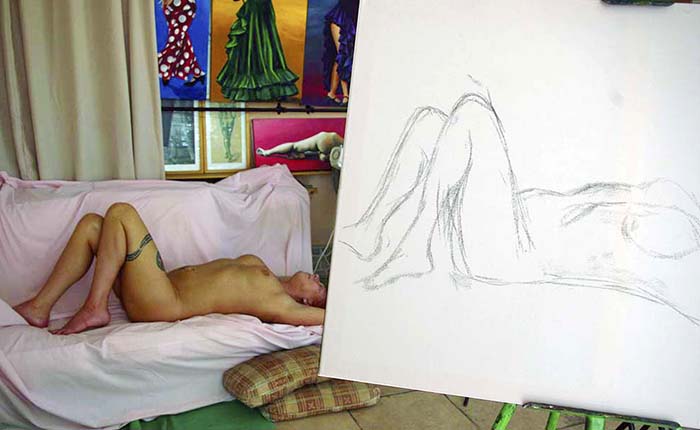
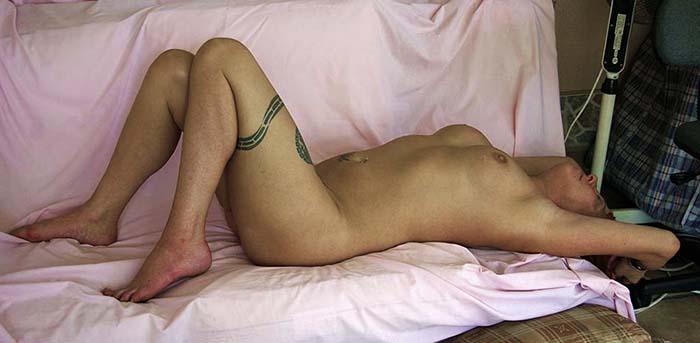
I usually start by making a quick outline sketch of the model using charcoal which I then 'fix' with hairspray.
(But it can also give a good effect if not fixed, as the charcoal will run into the paint and can be used to enhance shading.)
Sometimes however, I bypass the sketch stage and go straight into applying paint.
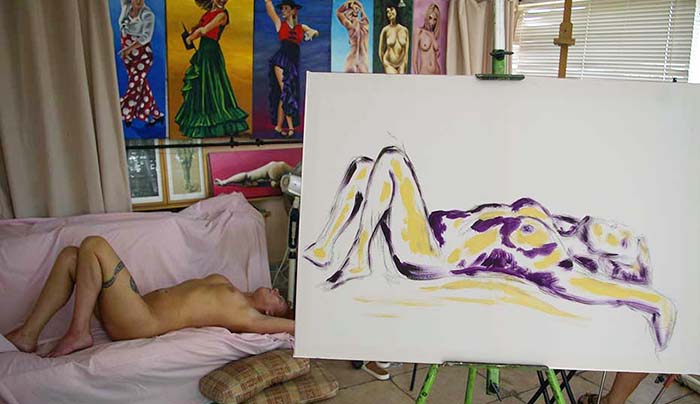
I put a little of each colour paint onto the palette straight from the tubes.
Then choosing fairly broad brushes, I apply the colours to the canvas that I have chosen to represent light and dark shades - in this case cobalt violet and naples yellow - screwing my eyes up as necessary to help determine the contrast if the lighting is a bit flat.
The paint can be used in the consistency it comes out of the tube, but may also be thinned a little with some solvent or made more 'buttery' with linseed oil if required.
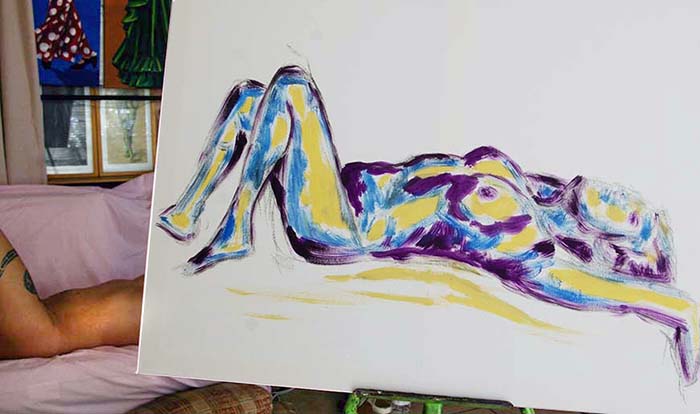
It is now time to apply the mid tones, and here I used cerulaen blue.
The advantages of using oils as opposed to acrylic paints, is that the paint remains wet and blendable.
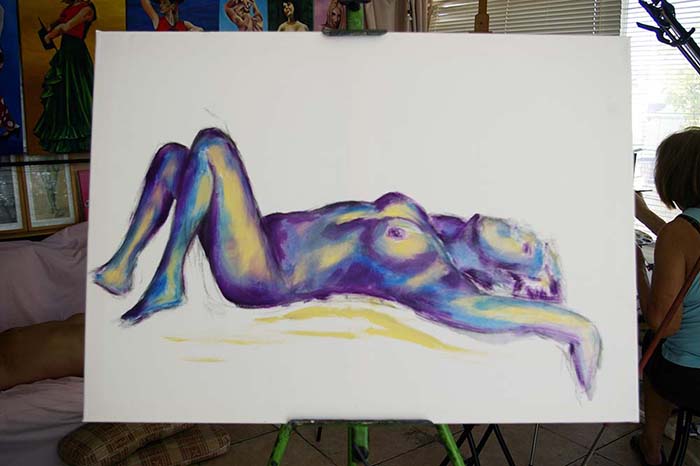
So now I start blending wet-on-wet.
Using the fan brush, I gently blend the colours ito each other.
I imagine I am actually running the brush over the model so I can 'feel' the shape of the legs etc. as I lightly stroke the brush around the form.
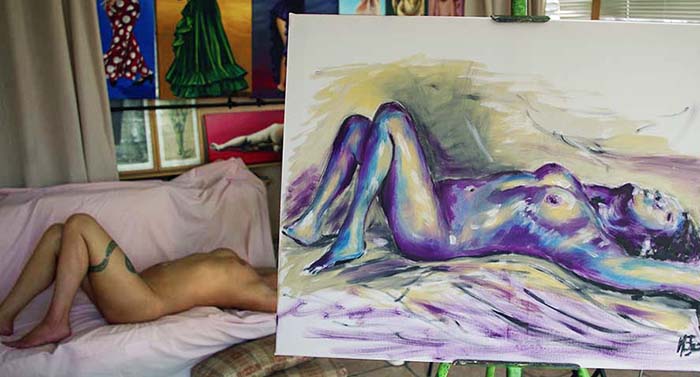
The final stages are to add the lightest tone in splashes of light - here titanium white - and the darkest tones - here peyne's grey - using finer brushes to add details as required.
And with the broader brushes and mixed colours, I add some background to anchor the model.

